

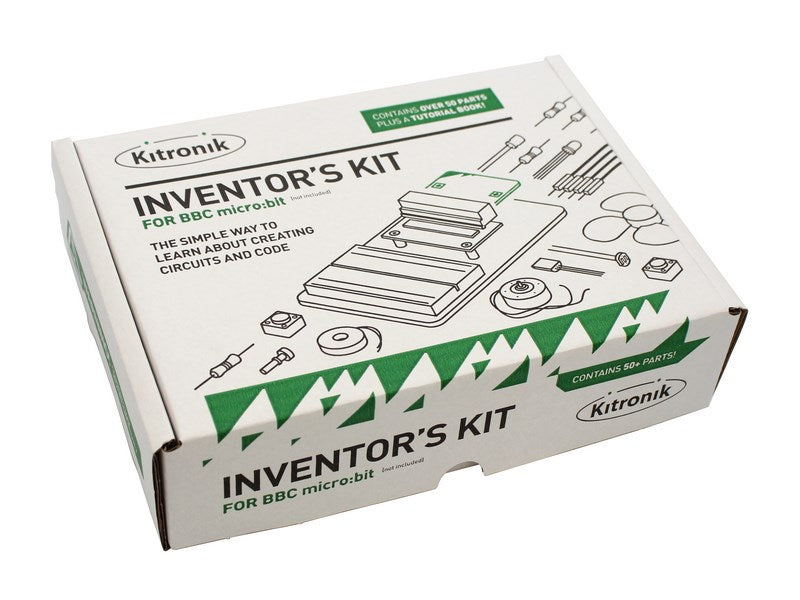

Please Note: BBC micro:bit is NOT included. You can buy the Kitronik Inventor’s Kit with the BBC micro:bit already included here.
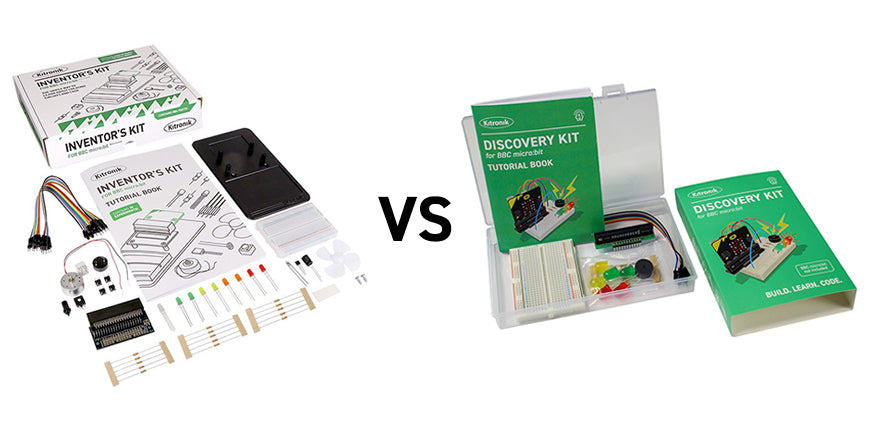
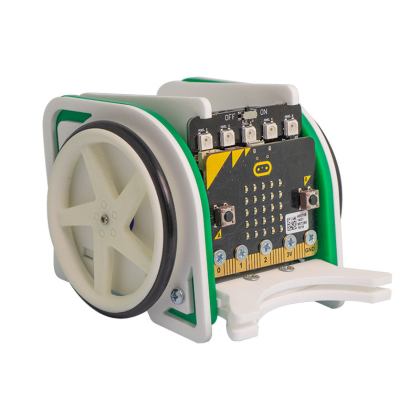
The Kitronik Inventor’s Kit for the BBC micro:bit is a great way to get started with programming and hardware interaction with the BBC micro:bit. This Inventor’s Kit contains everything you need to complete 10 experiments including using LEDs, motors, LDRs and capacitors.
To get you off to a flying start, we have included an easy-to-follow tutorial book which guides you through everything you will need to know about programming the BBC micro:bit. You don’t need any experience with programming as the tutorial book will guide you every step of the way.
The BBC micro:bit has a selection of pins that are located on the bottom edge of its PCB. By using our specially designed Edge Connector Board in conjunction with the breadboard, it is easy to use these pins to connect additional components to the BBC micro:bit.
Inventors Kit Add-On Packs:
On its own, the Kitronik Inventors Kit offers a great introduction to the world of physical computing. Its 12 experiments showcase how code and electronics can combine to create real-world everyday practical solutions to situations and problems. But why stop there?
The three add-on packs for the inventors kit have been specifically devised to introduce you to these aspects of practical physical computing.
- ZIP LEDs Add-On Pack for Kitronik Inventors Kit for micro:bit – Learn how to write code to take control of ZIP LEDs and also learn how to make ZIP LEDs respond to input from components such as potentiometers and sensors.
-
Noise Pack for Kitronik Inventor’s Kit for the BBC micro:bit
– Learn how to manipulate sound, build instruments, amplify your sounds, and how to shape your sounds with Filtering and EQ. - Digital Logic Pack for Kitronik Inventor’s Kit for the BBC micro:bit – Learn how logic gates work and how they can be used in conjunction with the micro:bit.
Note:
- This kit requires assembly.
- No soldering is required and you can build your first circuit in minutes!
- This kit does not include a BBC microbit.
Features:
- Make 10 experiments included in the provided step-by-step tutorial book.
- All parts are included to conduct the 10 experiments (listed below).
- Breaks out 21 accessible pins from the BBC micro:bit using the Edge Connector Board for the BBC micro:bit (included).
- Small Prototype Breadboard included for fast prototyping.
- This kit is available as a single pack or as a 20 pack.
Contents:
The contents below are for a single Inventor’s kit pack.
- 1 x Mounting Plate.
- 1 x Potentiometer – Vertical Type (finger adjust) 100K.
- 1 x Finger Adjust Spindle.
- 2 x Plastic Spacer 10mm.
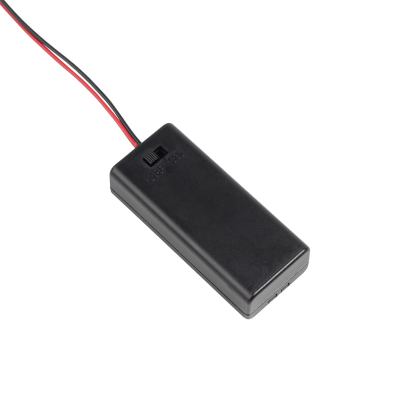
- 1 x Sticky Fixer for Battery Pack.
- 1 x Small Prototype Breadboard.
- 1 x Terminal Connector.
- 4 x Push Switch.
- 1 x Motor.
- 1 x Transistor.
- 2 x Red 5mm LED.
- 2 x Orange 5mm LED.
- 2 x Yellow 5mm LED.
- 2 x Green 5mm LED.
- 1 x RGB 5mm LED.
- 1 x Fan Blade.
- 5 x 2.2KΩ Resistor.
- 5 x 10KΩ Resistor.
- 5 x 47Ω Resistor.
- 1 x Edge Connector Breakout Board for BBC micro:bit.
- 10 x Male to Male Jumper Wires.
- 10 x Male to Female Jumper Wires.
- 1 x 470uF Electrolytic Capacitor.
- 1 x Piezo Element Buzzer.
- 4 x Pan Head M3 Machine Screw.
- Depending on which booklet version your Inventors Kit shipped with, you will have one of the two following components;
- 1 x Miniature LDR. For booklet versions pre V1.7.
- 1 x Phototransistor. For booklet versions post V1.7.
Kitronik Inventor’s kit pack size options:
- Single – 5603.
- 20 pack – 5603-20.
Video:
Requires:
- 1 x BBC micro:bit.
- 1 x Phillips Screwdriver.
- 1 x Terminal Block Screwdriver.
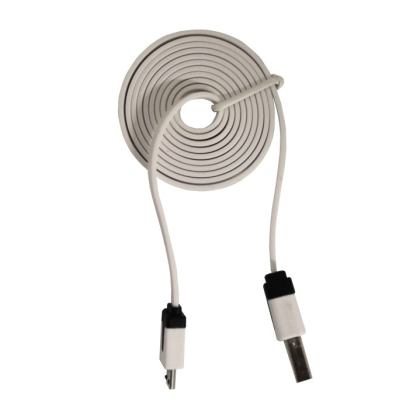
- 1 x Micro USB Cable.
All of the experiments included in this booklet (listed below) are based on the Microsoft MakeCode Editor. We have also produced a MicroPython code example for each of the experiments and Video resources featuring a walk-through and hints and tips to help you complete the experiments.
Resources:
| Exp No#. | Experiment Name. | Resource Type. |
|---|---|---|
| 1 | Say Hello to the BBC micro:bit. | Further Help. |
| 2 Pre V1.7 | Using an LDR and analog inputs. | Full Experiment + Further Help. |
| 2 V1.7 | Using a Light Sensor & analog inputs. | Full Experiment + Further Help. |
| 3 | Dimming an LED using a potentiometer. | Further Help. |
| 4 | Using a transistor to drive a motor. | Full Experiment + Further Help. |
| 5 | Using the accelerometer to control motor speed. | Further Help. |
| 6 | Setting the tone with a piezo buzzer. | Further Help. |
| 7 | Wind Power. | Full Experiment + Further Help. |
| 8 | Making a game using the compass. | Further Help. |
| 9 | Capacitor charge circuit. | Further Help. |
| 10 | Using an RGB LED. | Further Help. |
| 11 | Making a pedestrian crossing. | Full Experiment + Further Help. |
| 12 | Making a random dice. | Full Experiment + Further Help. |
Third-Party Resources:
Insight Resources Mr Bit is an online educational coding platform that also features sections devoted to some of our key micro:bit accessories, including this kit. To access these resources, please visit;
Buy British:
 This product is designed and manufactured in the UK by Kitronik.


gerry –
good experiments, documentation is good, could use more of a Lego approach to mix and match experiments.
Tony –
The Inventor’s Kit is an excellent starter route to understanding both electronics and computer control/sensors. I like the way it introduces the user to “industry standard” techniques, such as the use of a breadboard and discrete components.
The combination of break-out board for the micro:bit and a breadboard to build circuits on affords far, far more opportunity for the pioneering inventor/explorer, once the experiments in the book have been completed, either using the various add-on packs, or buying individual components.
I really like the way the kit covers both electronics and Pyhton code – some excellent cross-curricular learning opportunities.
In all, a fabuous starter-kit, which will then prove to be a really useful workspace for much more advanced projects going forward. Great for experimenters at home, and for use in the classroom – with a few extra LEDs and bits, I have developed some quite elaborate pedestrian crossings with Key Stage 3 after-school clu,bs, and envisage using it to demonstrate ideas even to A Level students.