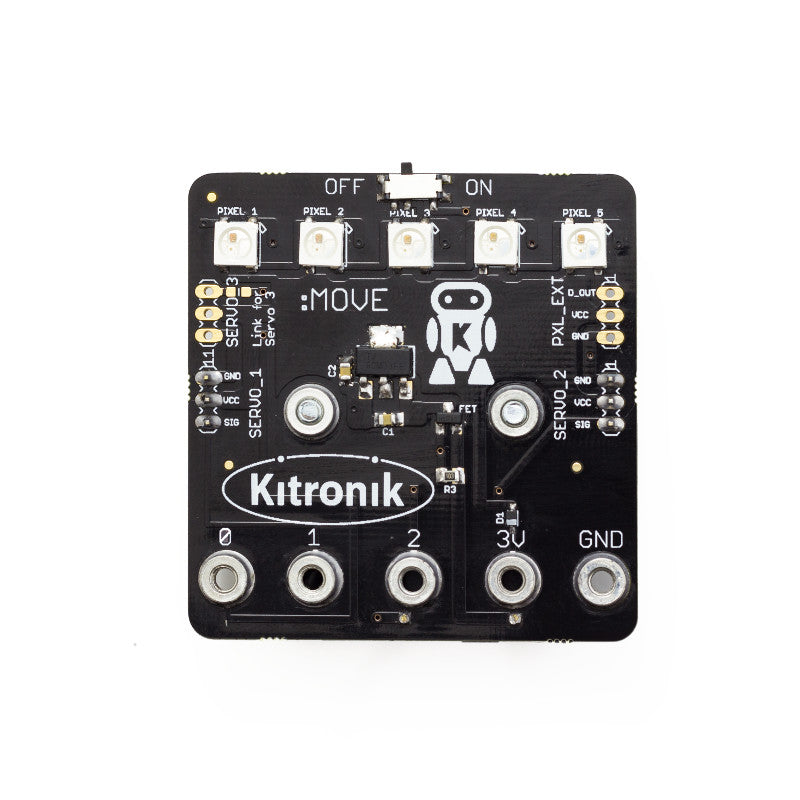
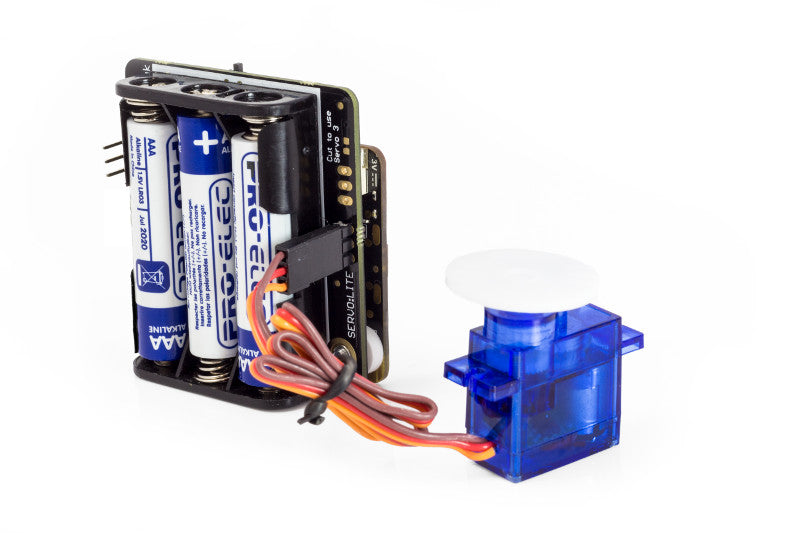

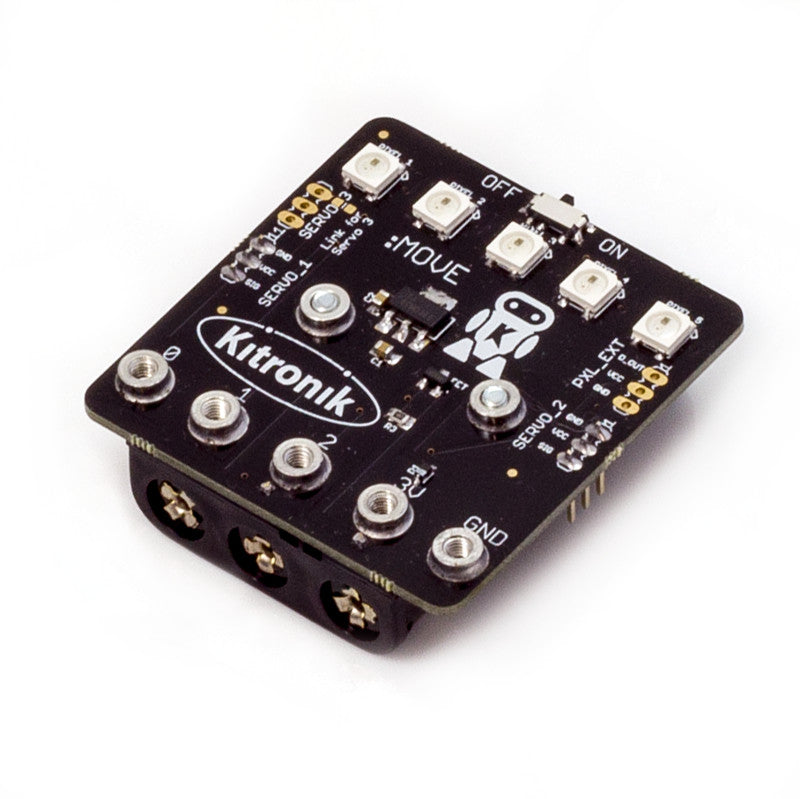


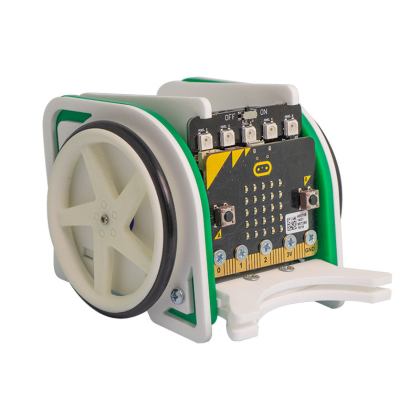
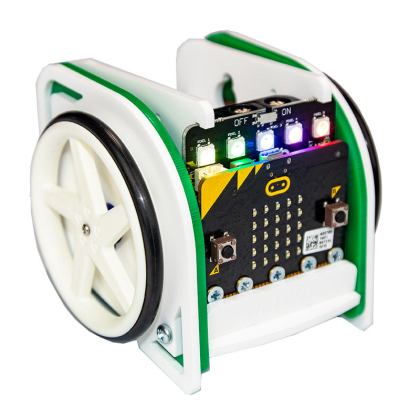
The Servo:Lite board for the BBC micro:bit is a simple board that allows you to easily connect and control low power servo motors (servo’s must be capable of operating at 3.3V) using the BBC micro:bit. It is connected to the micro:bit using five bolts. Connect two servos in standard configuration and it can drive up to 3 servos if the addressable ‘ZIP’ LEDs aren’t needed.
It is powered by 3 AAA batteries and also supplies power to the BBC micro:bit, the board features an On / off switch so when it’s not in use the batteries won’t drain.
The board also features 5 x RGB individually addressable ZIP LEDs (NeoPixel compatible) and additional external ZIP LEDs can be connected to the board as required.
We’ve produced a range of tutorials and guides that can be found in the resources section below. We have guides detailing; how to control a third servo and how to write code for the on-board ZIP LEDs.
Video:
Features:
- Connect two servos in standard con?guration and can drive up to 3 servos if the addressable ‘ZIP’ LEDs aren’t needed.
- Powered by 3 AAA batteries that also supply power to the BBC microbit (not supplied).
- On / off switch.
- 5 x RGB addressable ZIP LEDs (NeoPixel compatible). Additional external ZIP LEDs can be connected to the board.
Contents:
- 1 x Servo:Lite board with battery holder pre-fitted.
- 5 x M3x8 Counter sunk Pozi Steel screws.
- 1 x Perspex spacer.
Dimensions:
- Length: 55mm.
- Width: 52mm.
- Height: 17mm.
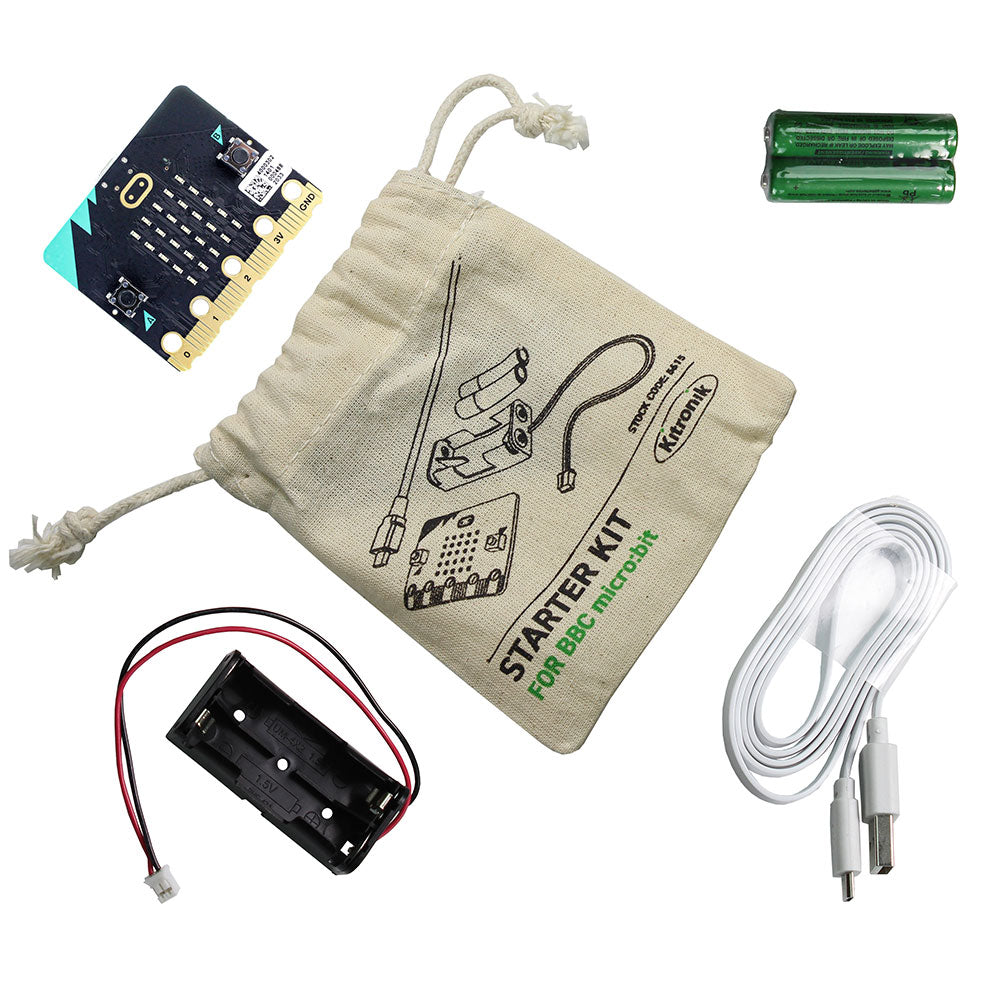
Requires:
- 3 x AAA Batteries.
- 1 x BBC microbit.
- Servos.
- Screwdriver.
Resources:
- Kitronik Custom MakeCode Editor Servo Blocks (Use this URL to add them to the Editor).
- Guide For Kitronik Custom MakeCode Editor Servo Blocks.
- Getting Started With The Servo:Lite board.
- Guide For Controlling 3 Servos With The Servo:Lite board.
- Guide For Using Kitronik ZIP LEDs With The BBC microbit.
-
WS2812B Datasheet.

-
Servo:Lite board Datasheet.
Note:
- Once the Servo:Lite board is attached to the microbit there is a maximum clearance of 6mm for the plastic sheath of the USB cable. Our noodle cables and the cable which is supplied in the official Go pack both fit.


Canned –
This is a brilliant board & well worth the money. Can’t recommend it alone but as part of the :move mini. That’s mostly due to what I bought it for.
If you’re getting it for your own chassis then the docs from kitronik great. The app they have built for the :move is also simple but needs to be nothing more.
Some bits I don’t like are the documents around bluetooth. The default is “Justworks”. I’ve found it doesn’t – the option that works for me is passkey pairing. For this, I’d advise that if you drift out of/expire your connection & have trouble reconnecting, close the app, kill it off then restart. I’ve been able to connect every time after without having to go through “forget” and repair. (Android phone)
The other is that some makercode modules can’t work together. It’s important to note this is not down to Kitronik. Pretty certain this is a limitation of the hardware.
These drawbacks are far less about the product than the suitable use of the product. I’ve done pl,enty with Arduino & Raspberry Pi & each have drawbacks. Each one is just a case of the most appropriate tool.
This is one that deserves to be explored & this product drops no points for that. It’s brilliant & if I could I’d give their 6 starts because their service & support is nothing short of excellent.
(P.S. I’m in no way affiliated with Kitronik but always happily point people to them & others being great places to not just buy things at good value but for the resources & support I always feel confident in)
Vladimir… –
‘@first(review) I totally agree…. I will go even further a perfect 10.. as far as tech support goes…. Some day with such support we (teachers) are going to be out of work. Kids will have EVERYTHING online FREE for the taking….
I also have nothing to do with Kitronik (affiliate wise). Just a week ago we won a 4th prize kit including lots of microbitsV2 and add ons, etc… etc…. (just don’t ask how…)
And I also have experience with Arduino…. And, still I recommend Kitronik for their exellence in tech support.. Just keep up the great work guys !!!
Claudio Gasparini –
With this excellent board I have created Drawing Robot Cars that allow you to teach the principles of GEOMETRY through the use of simple and basic forms of coding.
Basic geometric figures but also Fractals! 🙂
On YouTube I posted videos of the Drawing Robot Car made with Lego Duplo blocks even with the radio control.
https://youtu.be/O4R193v4UJE