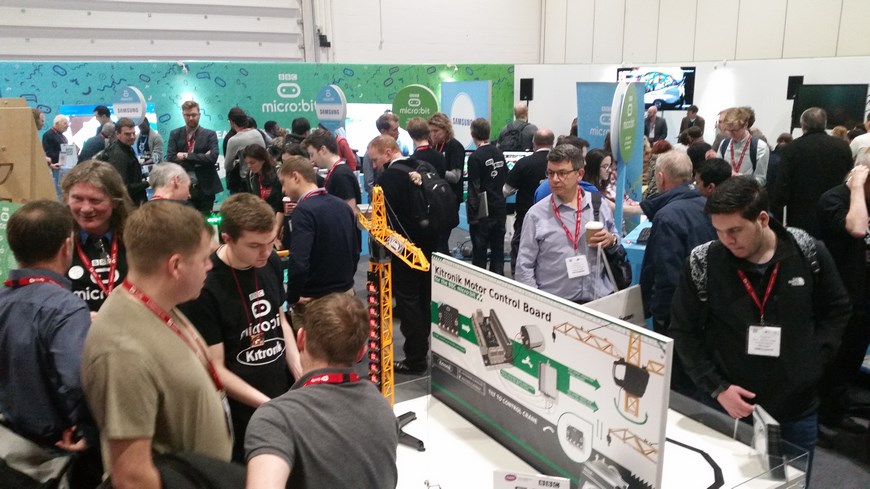
In January we were one of the three partners of the BBC showcasing the BBC microbit at the BETT Show 2016 with our BBC micro:bit controlled crane. Our BBC microbit controlled crane was a great draw and many of you have asked how to build your own. Now you can thanks to this easy to follow step by step guide!

We’ll guide you through customising a toy crane so that it can be controlled with a BBC microbit, using the Kitronik Motor Driver Board for the BBC microbit and the BBC microbit’s built-in accelerometer to detect tilt and turn motions.  Using the accelerometer in the BBC microbit to detect in which direction it is being tilted (x or y axis) we can feed that information back to the motors within the crane. If the BBC microbit is held flat with the LEDs facing upwards it will read X and Y as zero as shown in the diagram below: X and Y become larger or smaller (negative), depending on in which direction it is tilted.

Learn how to:
- Code the BBC microbit to control a crane via the built-in accelerometer.
- Convert a toy crane into a BBC microbit controlled crane.
Parts List:
 To make the BBC micro:bit controlled crane you will need the following electronic components:
- 1 x BBC microbit.
- 1 x Toy Crane kit. (Note: If using a different crane the wiring and motor control may be different).
- 1 x Motor Driver Board for the BBC microbit.
- 1 x 4xAA Battery box with switch and leads.
- 4 x AA Batteries.
For the casing options for the controller you can either use our laser cut template:
- Laser cutting enclosure files (.dxf).
- 8 x M3 6mm machine screws.
- M3 12mm machine screws.
- 4 x M3 Nuts.
- 4 x 6mm plastic spacers.
Or alternatively for an off the shelf solution:
- Translucent Box.
- 8 x M3 6mm machine screws.
- 6mm plastic spacers. x 4
You will also require the following equipment:
- Wire strippers.
- Small flat-head screwdriver.
- Phillips screwdriver.
- Drill with a 3.3mm drill bit.
- A computer with a spare USB port and internet access.
- A USB to micro USB cable.
Step by Step Guide to building the BBC micro:bit controlled crane
Step 1
Build the toy crane as described in the instructions that are supplied with it. 
Step 2
Remove the supplier controller by cutting the cable. Do this near to the controller to leave as much cable as possible. 
Step 3:
Strip away a section of the black insulation and then strip the insulation off the end of each of the four internal wires, leaving the copper internal wire exposed. 
Step 4
Connect the blue and yellow wire to the ‘Motor 1’ input on the Kitronik Motor Driver board and the red and white wire into the ‘Motor 2’ input (see below). 
Step 5
Insert the batteries into the battery holder and connect it to the power terminal on the Motor Driver Board for the BBC microbit. The battery pack has as on/off switch to turn on the power.
Step 6 Coding The BBC micro:bit controlled crane
You can download from the embedded MakeCode editor above. The code can then be dropped onto you microbit in File Explorer or drag and dropped into the MakeCode editor.
Step 7
Insert your coded BBC microbit into the connector on the Kitronik Motor Driver board and tilt the Motor Driver Board to try it out! 
Casing (Optional)
We housed our BBC microbit in a simple laser cut case (see below) but there are many suitable casing options or it could be used without one at all. You can download a zipped copy of the .dxf files here.
Customise an existing enclosure
In this example we used a Hammond Blue Translucent Box 193mm x 113mm x 61mm (pictured below) as a case.  Simply drill 5 holes in the box (4 in the side of the box for mounting the Motor Driver Board for the BBC microbit on to the side of the box) and one hole for inserting the wire from the crane (see below). Mark the five holes using a whiteboard pen on the outside of the box so you know where to drill (see below). Make sure the hole for the wire is on a different side of the box than to where you are mounting the Motor Driver Board for the BBC microbit.
  Next, push the wire through the hole you have made in the middle of the box so you can screw the wires into the Motor Driver Board for the BBC microbit.
  Mount the Motor Driver Board for the BBC microbit on the side of the box using 8mm Plastic Spacers and 6mm M3 Machine Screws (see below).
  Connect the battery box, and plug in the BBC microbit and away you go!